How to Solve Slide Puzzles


I've always enjoyed playing sliding tile puzzles and I've always been able to eventually solve them, but most of the time I had no real understanding of how I solved them. The game is simple enough so that when a 4 and a 3 are out of order, I would essentially just scoot them around with some other tiles for a while until they came out in the right order.
That changed recently as I was making a sliding tile puzzle in Godot. During testing I played so many times that things suddenly clicked and I grokked the essential movement patterns of the game. Here they are.
Note: this blog describes techniques for manually solving sliding tile puzzles, not programmatic solutions.
Essential Techniques
Conveyer Belts
Given a tile we want to move, a place we want to move it to, and the location of the empty square, imagine a tile path that travels through all three tile locations and closes on itself in a loop. Think of this as a conveyer belt that we can slide tiles along to eventually bring our tile to its destination.
This path can take any meandering route, and sometimes we want that in order to avoid displacing certain tiles or to include certain tiles on the belt.

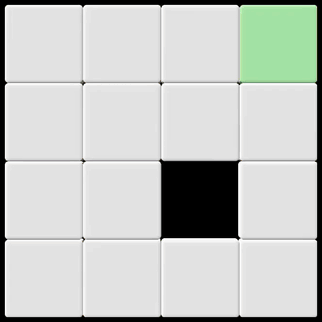
Carousels
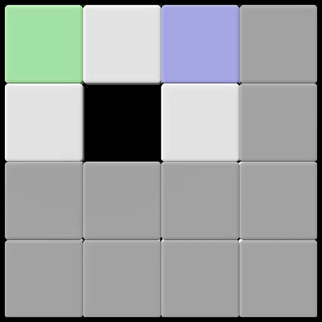
The smallest instance of a conveyer belt is what I call a carousel: a 2x2 group of tiles that includes the empty space. These are occasionally useful in isolation, but they are very powerful when two carousels share a two-tile edge. Think of a group of 3x2 tiles as two 2x2 carousels that share an edge. By rotating one and then the other we can shift pieces on and off carousels to reorder them.
In the example below, we first arrange the green tile above the blue tile on the left side. Then we rearrange them to have blue above green. This is the essential trick to swapping adjacent two tiles that are out of order: we need to make them both part of a 3x2 (or 2x3) double carousel and then the swapping becomes easy.
That's it! Those are the two essential techniques for solving a sliding tile puzzle! I'll mention board size and then run through solving a board with those techniques below.
Larger Boards
The smallest size of sliding tile puzzle is 3x3 tiles. 4x4 are perhaps the most common, and then we can find 5x5, 6x6, and larger.
Larger boards are no harder than the modest 3x3; they just take longer. To solve a 4x4 puzzle, once we get the top row plus one of the side rows solved then we are left with a 3x3 puzzle.
For a 5x5 we could solve the top two rows and two of the edge rows to be left with a 3x3, and so on.
To solve a 3x3 puzzle (or subset) we start by solving one of the edges and then we're left with a 2x3 (or 3x2) double carousel.
Example Solution
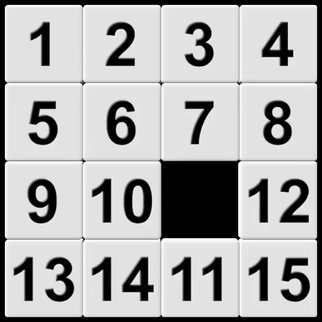
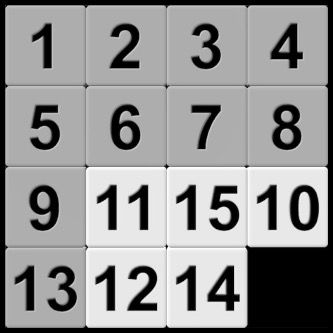
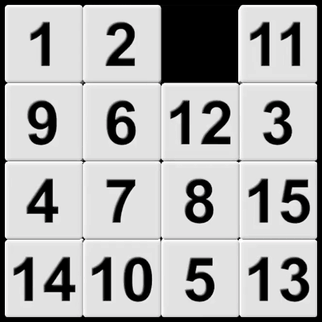
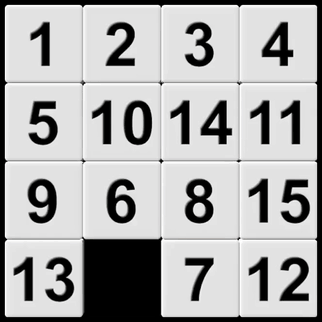
Let's shuffle the board and solve it by applying these techniques. First we'll scramble the board.
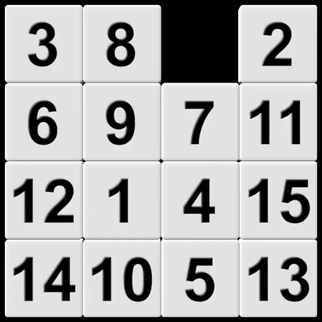
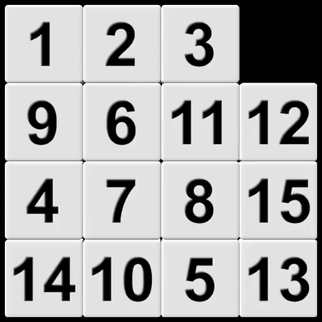
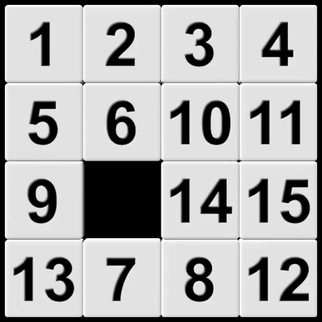
Now we move the "1" to its spot using a conveyer belt (which of course includes the blank square in its path).
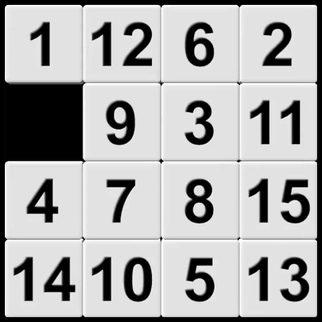
For the "2" we would have to make a large conveyer belt as it stands, so we'll just scoot a piece over to make it a shorter path.
The "3" is super easy; we just spin it twice on its carousel.
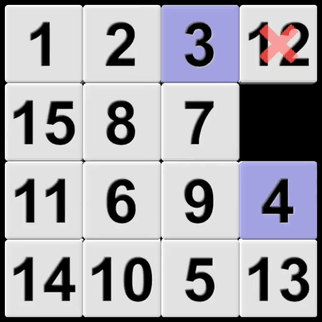
The "4" is a little more complicated. We'll have to move the "3" back down and place them side by side before sliding them up into place. Let's start by getting the "4" over in the vicinity of the "3"; more specifically let's get put it at the bottom of a 2x3 double carousel that includes the "3".
Notice how we now have two adjacent 2x2 carousels. We can spin either one freely and move a piece from the other at any point. We'll use this "spin move" to place the pieces correctly.
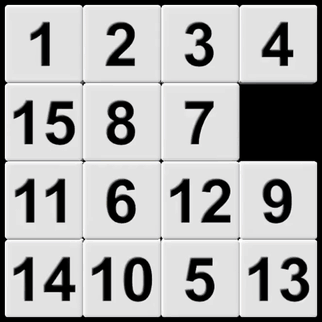
Next up is the "5", which is straightforward to start with. However, a few moves into it we notice that the "9" and "13" are adjacent to it - the remaining two pieces of the left edge. We get them all in order on a conveyer belt so that we can just slide them up the left side and into position.
Placing the "6" is very simple.
For "7" and "8" we need a double carousel and spin move.
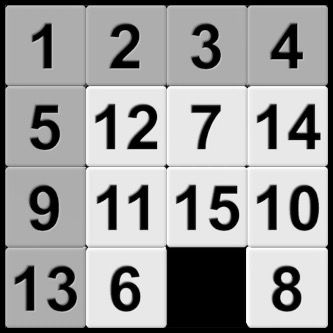
"14" happens to be placed correctly but to get the "10" into place above it we need to pull it out into a double carousel and line the tiles up like we did with the "3" and "4".
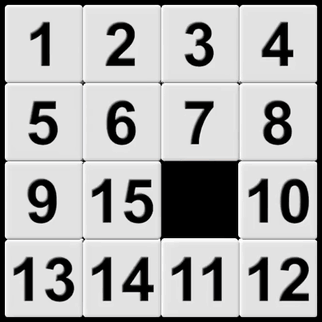
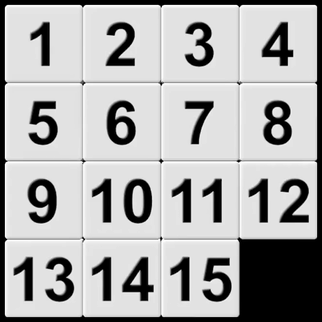
Once we're down to a 2x2 unsolved area, we're guaranteed to only need a spin or two of the carousel to place the final pieces.